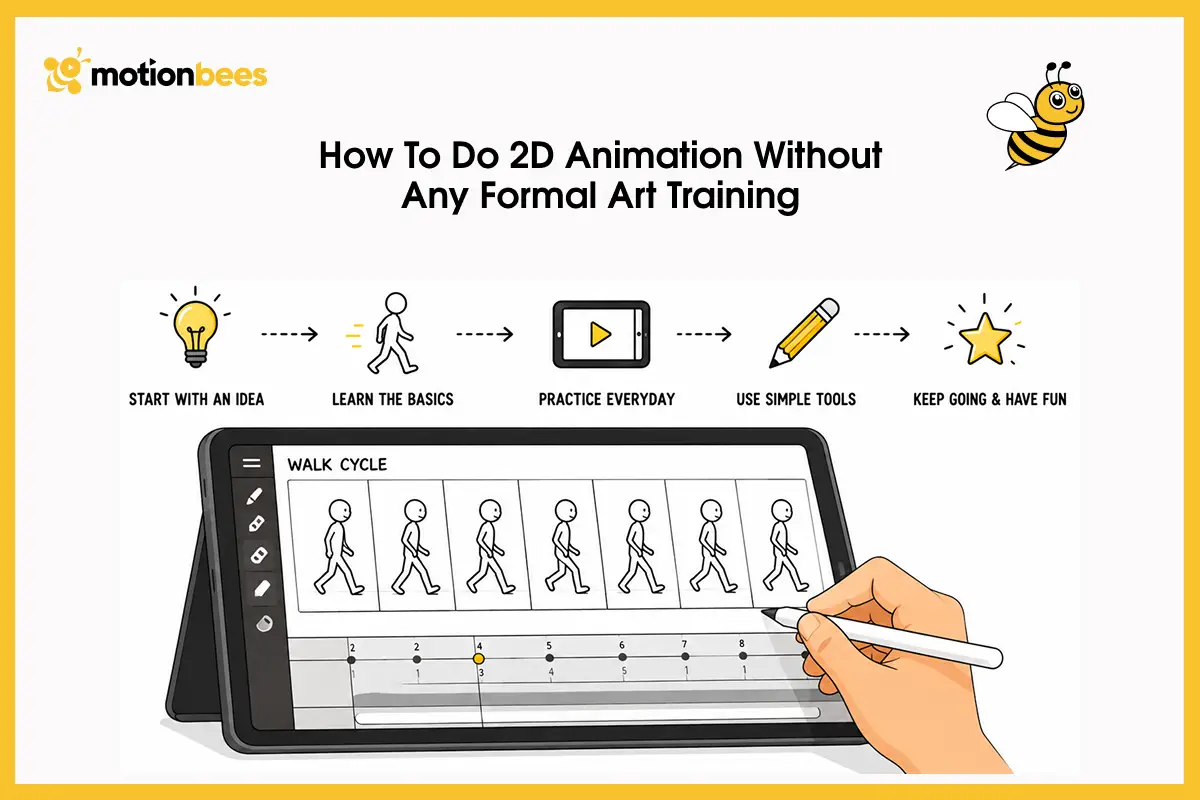
There’s no need to be a genius at art to animate in 2026. Most beginners assume drawing skill matters most. What you actually need is modern tools. With them, you can rig and cut out characters without drawing every frame. These days, 2D animation is more about patience than talent.
Traditional animation involves drawing all the frames by hand. Digital rigging is different. Both techniques still rely on the same fundamental principles of animation. The equipment and the technology evolved, but the basic principles remained the same.
Now let’s take a look at the entire 2D animation pipeline in five steps. Start by writing a simple script and concept. Second, storyboard the key story beats. Third, build a rough animatic with timing. Fourth, animate using keyframes and inbetweens.
Finally, polish everything in post-production. These steps aren’t separate, each one feeds into the next.
Choosing Your Path: Frame by Frame Animation and Rigged Animation
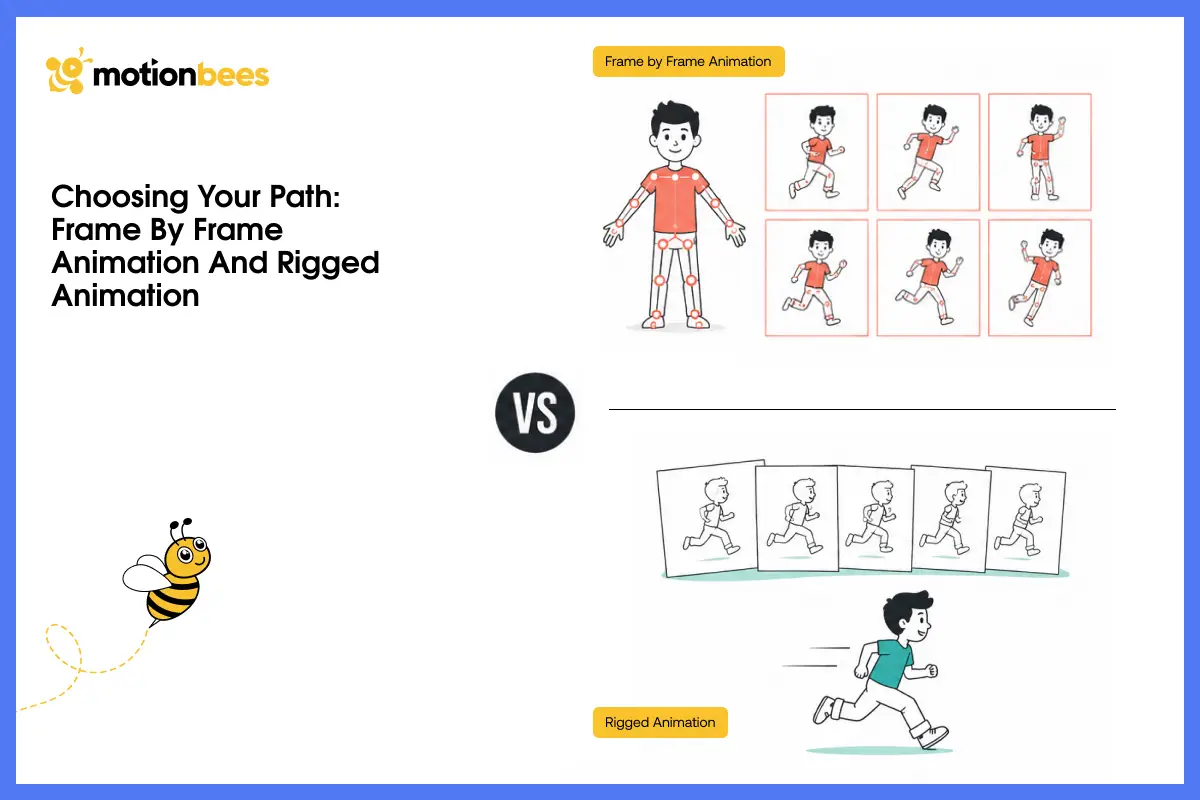
This is the first real decision anyone learning how to do 2D animation has to make. Do you draw each frame by hand? Or build a digital puppet instead? Both paths teach real animation skills. But they suit very different goals and timelines.
Drawing Every Single Frame Yourself
Frame-by-frame animation means drawing every single image yourself. Each frame shows a slightly different pose. Played back quickly, they create motion.
This method gives you total creative freedom. It’s ideal for organic movement, like flowing hair or water. It also takes far more time than rigged methods.
Most professional hand-drawn shows still use this technique for expressive close-ups.
Building a Digital Puppet Instead
Rigged animation uses a character built from separate movable parts. Think of it like a digital marionette. You design the character once. Then you pose and move its limbs digitally. This is called vector rig and cutout animation.
It saves enormous time on longer projects. Most explainer videos and animated series rely on this method. It’s also the faster path for beginners chasing consistent results.
A typical rig splits a character into layers. Arms, legs, head, and torso each move independently. Joints connect these pieces like a puppet’s strings.
Once built, the rig can be reused across dozens of scenes. That’s exactly why so many animated series rely on rigging.
2D Software for Beginners
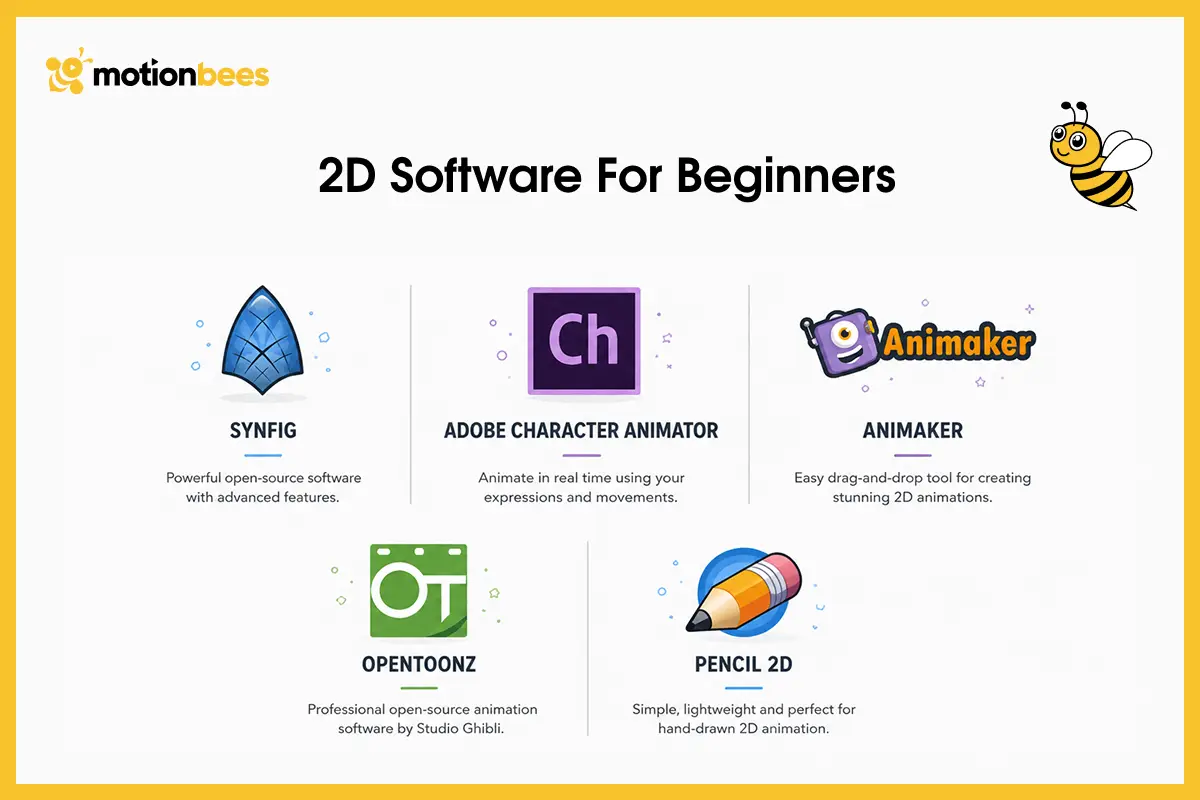
Picking the right 2D animation software for beginners matters more than people think.
Free 2D Tools to Start With
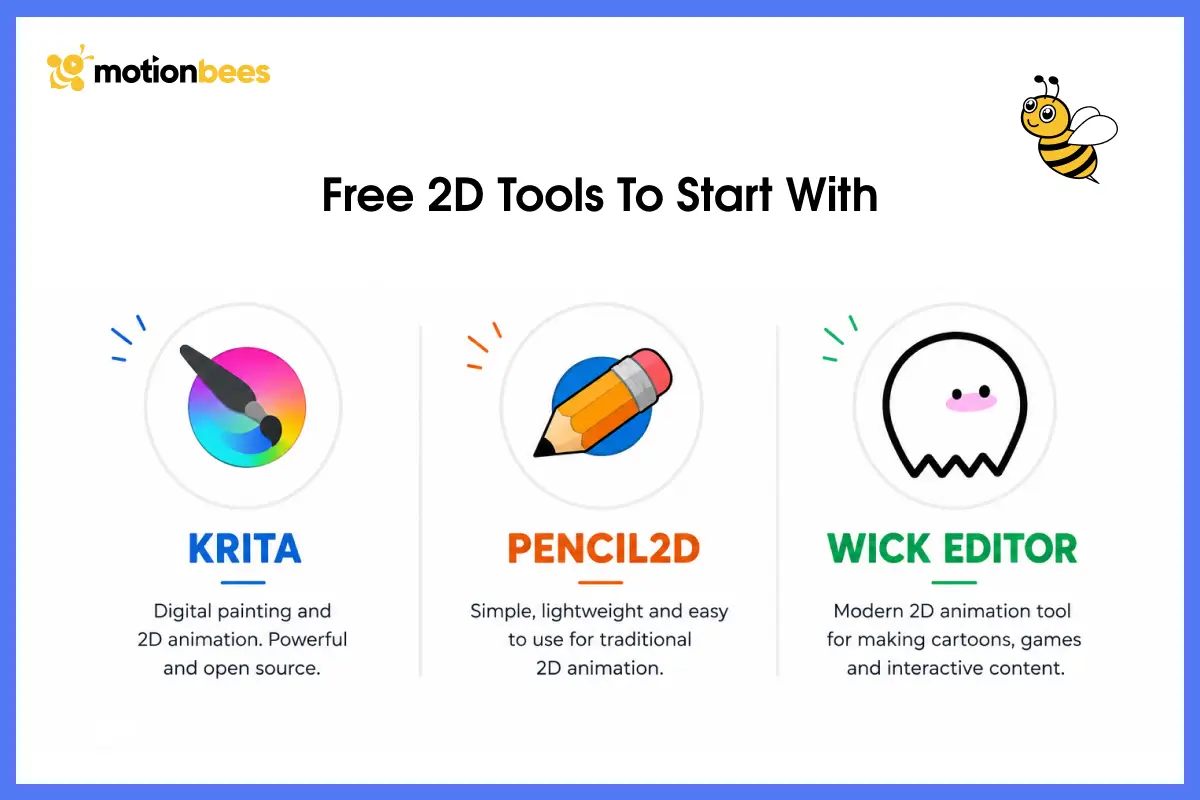
Free tools like Krita, Pencil2D, and Wick Editor are great starting points. They cost nothing and teach real fundamentals. Krita works well for frame-by-frame drawing practice, with a built-in timeline and onion skinning.
Pencil2D keeps things even simpler, with basic drawing and playback tools. Wick Editor runs right in your browser, so there’s nothing to install. All three are genuinely free, not just trial versions.
2D Mid-Level and Pro Tools
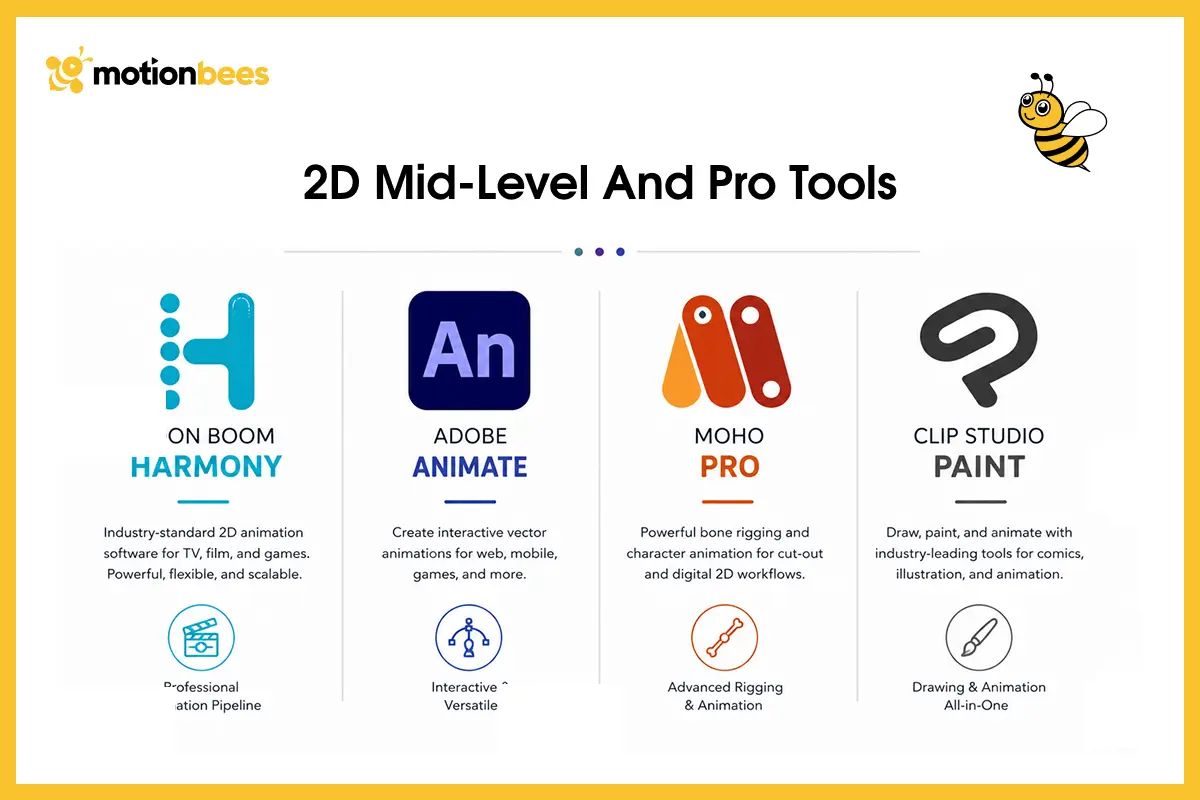
Once you’re comfortable, mid-level tools open more doors. According to Knowlify’s 2026 software comparison, Toon Boom Harmony remains the industry standard for serious rigged and hand-drawn work, used on productions like The Simpsons and Bob’s Burgers.
Adobe Animate suits people already in the Adobe world, though it’s worth knowing that Adobe moved Animate into maintenance mode in February 2026, according to a 2026 Toolradar report, with support for non-enterprise users ending that March.
Moho Pro and Clip Studio Paint remain solid middle-ground options too, Moho Pro for bone-based rigging, Clip Studio Paint for illustrators branching into animation.
Pre-Production: Setting the Conditions for Drawing
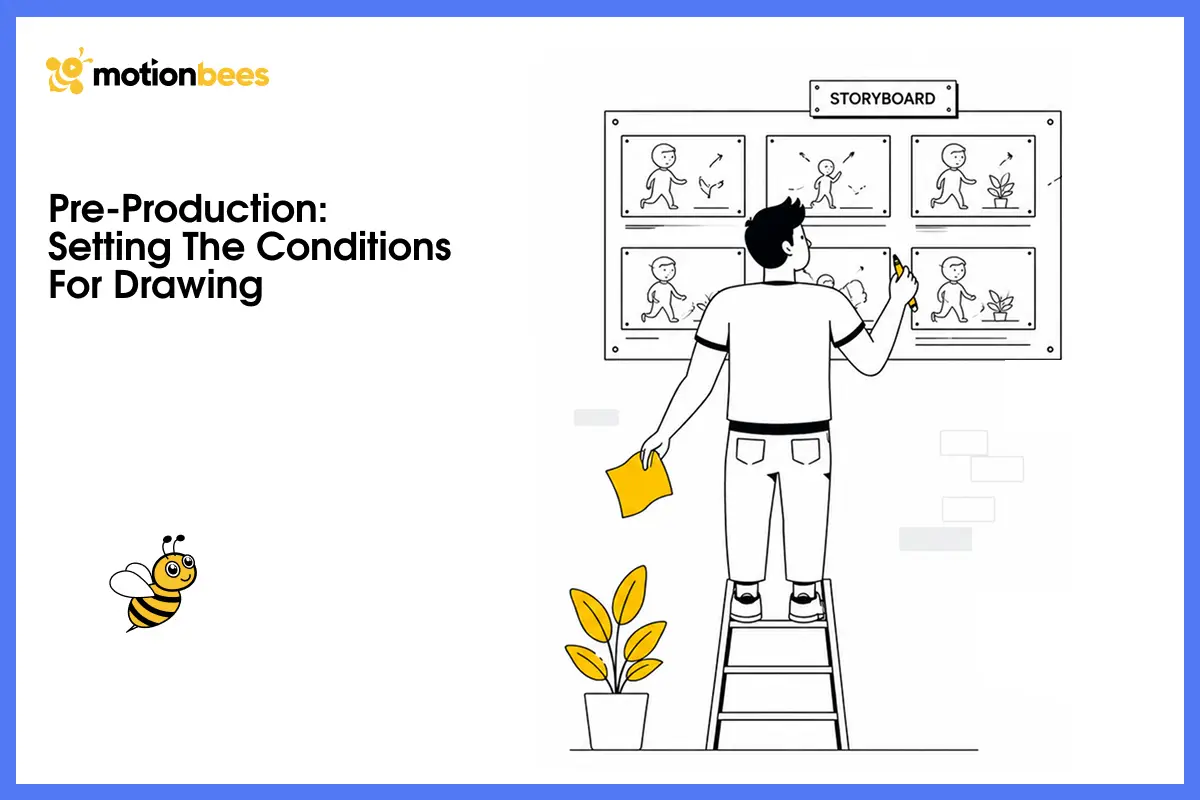
Good animation starts long before you draw a single frame. Skipping pre-production is the most common beginner mistake because these are core parts of how to do 2D animation well.
The following are the three steps, and focusing on each one will save time later.
Step 1: Scripting and Concept
Keep your first script simple. One character. One clear action. One short scene. Complex stories overwhelm new animators fast. A short, clear idea teaches the full pipeline without burning you out early.
Keep your first concept to a sentence or two. Something like a ball bouncing down stairs works great. So does a cat chasing a laser dot. These tiny ideas are perfect training grounds. They let you focus entirely on motion, not plot.
Step 2: Storyboarding
Storyboarding and animatics come next. A storyboard maps out your key story beats, like a comic strip version of your scene.
It shows camera angles, character positions, and shot composition. This step catches story problems early, before any drawing begins.
You don’t need polished art for a storyboard. Rough stick figures work perfectly fine here. What matters is clarity, not skill. Each panel should show one clear beat in the action.
Step 3: Creating the Animatic
An animatic turns your storyboard into a timed sequence. Add rough audio, even just a placeholder track. This sets your pacing before real animation starts.
Storyboarding and animatics together form your entire blueprint. Skipping this step usually means reworking timing later, which costs far more effort.
Production: How to Animate Step-by-Step
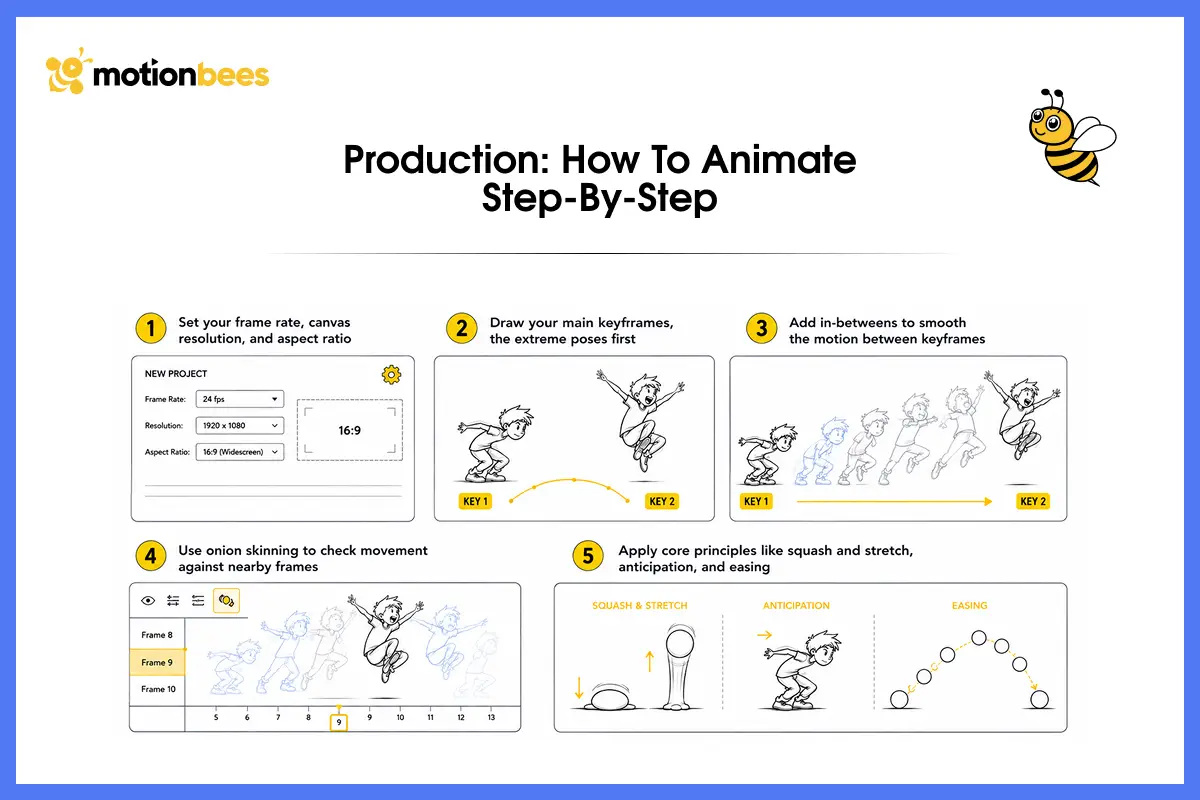
This is where actual animation happens. Understanding how to do 2D animation really comes down to this stage. Five clear steps guide you through it.
Step 1: Setting Up the Stage
Pick your frame rate first. Traditional animation often runs 12 frames per second on twos. Smoother animation uses 24 frames per second on ones.
Choose your canvas resolution and aspect ratio too. Match these choices to wherever your animation will actually play.
Twelve frames per second gives a slightly choppy, stylized look. Many classic cartoons used this rate on purpose. Twenty-four frames per second feels smoother and more realistic.
Neither choice is wrong, just different in feel.
Step 2: Keyframing (Pose-to-Pose)
Start with your main extreme poses. These are called keyframes. They mark the most important moments in your motion. A jump might use three keyframes: crouch, mid-air, and land.
From just those few drawings, keyframes and inbetweens build the whole motion.
Step 3: Adding In-Betweens
In-betweens are the drawings that go between keyframes. They smooth out the motion between two extreme poses.
More in-betweens create slower, gentler movement. Fewer in-betweens create fast, snappy action. This balance is where real animation skill develops over time.
Step 4: Comparing Frames as You Draw
Onion skinning shows your previous and next frames as faint outlines. You see them layered behind your current drawing. This helps you judge movement accuracy as you draw.
You’ll find this in almost every 2D animation software for beginners. Expect to use it constantly, probably every session.
Step 5: Applying Core Animation Principles
According to the Disney animators’ own account, the 12 principles of animation guide nearly every professional animator’s work. Frank Thomas and Ollie Johnston introduced them in their 1981 book. These concepts are based on 40 years of studio practice.
Three principles matter most for beginners. Squash and stretch give objects weight and volume. Anticipation prepares your audience for what’s coming next.
Easing, also called slow-in and slow-out, creates natural movement curves. Practice these three before worrying about the rest.
A bouncing ball shows squash and stretch perfectly. It flattens on impact, then stretches as it rises. Anticipation might mean a character crouching before a jump.
Easing refers to the gradual increase and decreases in speed towards the end of the motion. It’s the little things that bring movement to life.
Common Timing Mistakes Beginners Make
Even good keyframes and inbetweens can look wrong with bad timing. The most common mistake is even spacing everywhere. Real motion speeds up and slows down constantly.
Another mistake is skipping anticipation entirely. Without it, actions feel sudden and confusing to watch.
A third mistake is animating too fast at first. Slow down your movements early in production. It’s much easier to speed up a scene later.
Fixing timing that’s too fast usually means redrawing frames from scratch.
Why a Walk Cycle Is the Perfect Practice Scene
A walk cycle tutorial is often a beginner’s very first real project. It repeats a short loop of steps endlessly.
This forces you to apply keyframes, inbetweens, and timing together. Very few exercises teach so much in so little screen time.
Most walk cycles use around eight to twelve key poses per loop. That’s enough to cover a full stride cleanly.
Once you can animate a believable walk, running and jumping become far easier; it is the single best exercise for building real confidence early on.
One Tutorial, Three Essential Skills
Even one walk cycle tutorial teaches keyframes, inbetweens, and timing all at once.
Post-Production: Polishing Your Animation
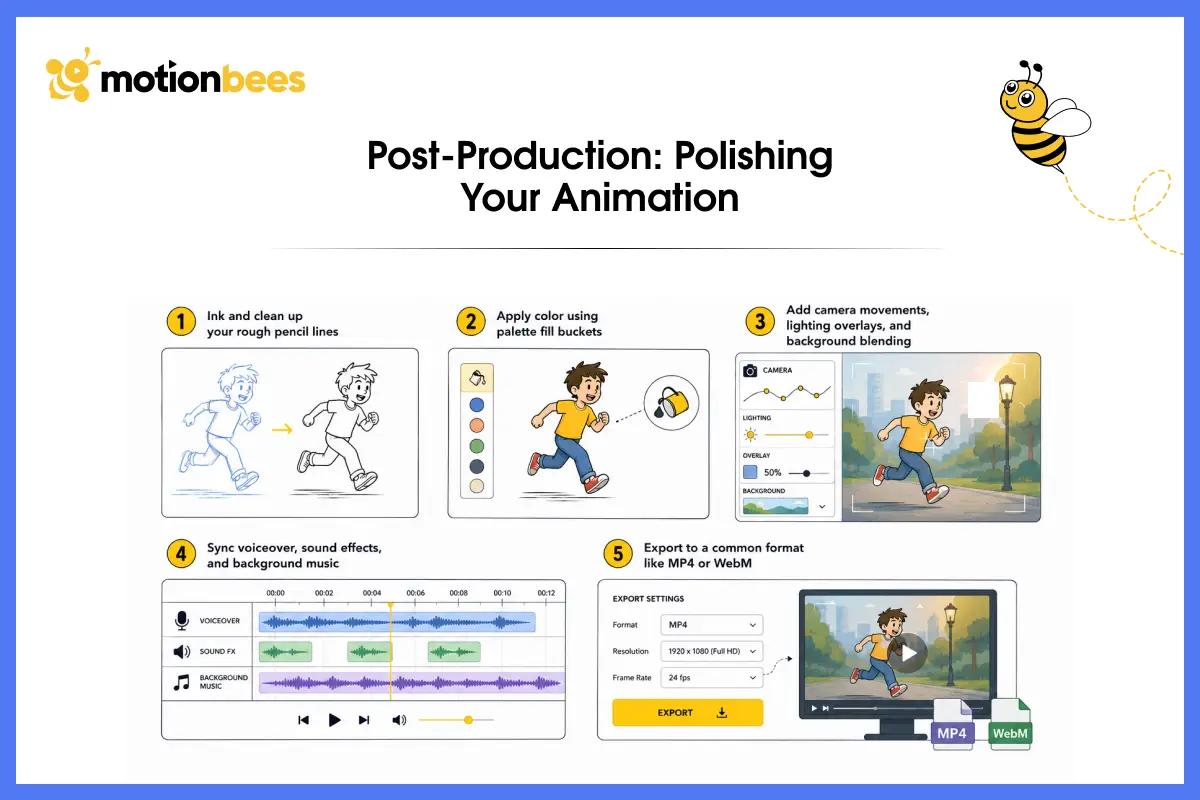
Once your rough animation is done, one stage remains. Post-production is the final piece of how to do 2D animation professionally. It turns raw drawings into a finished piece.
Inking and Coloring
Clean up your rough pencil lines first. This step is called inking. Then apply color using palette fill buckets. Consistent colors across every frame keep your animation looking professional.
Build a simple color palette before you start. Save it as a reusable swatch set. This keeps every frame consistent, even across long scenes. Switching colors mid-project usually causes visible mistakes later.
Compositing and Effects
Compositing brings separate elements together into one final image. This includes camera movements, lighting overlays, and background blending.
Good compositing adds depth without distracting from your character’s motion.
A simple camera pan can make a static scene feel alive. Subtle lighting overlays add mood without much extra work.
Background blending keeps foreground characters from looking pasted on top. Small touches here often matter more than people expect.
Sound Design and Export
Sound brings your animation to life. Line up your voiceover, sound effects, and music carefully. Then export to MP4 or WebM. This is where sound design and compositing can take an unrefined project to a refined one.
When to DIY and When to Outsource
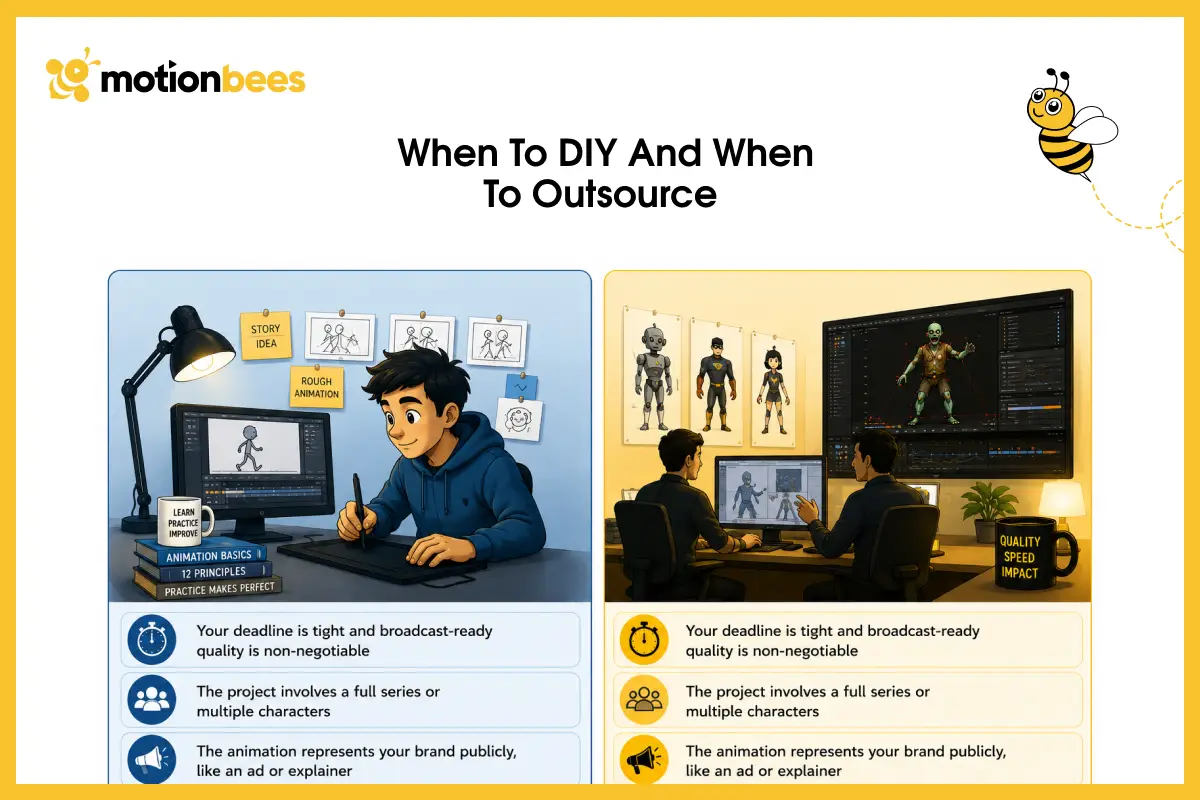
It takes time to learn how to do 2D animation, more than most beginners expect.
The Learning Curve
Give it months, not days, before any 2D animation software for beginners starts to feel natural.
Simple projects come faster. Complex character work takes much longer. Give yourself real time to practice before judging your progress.
Most beginners see real improvement around the two- to three-month mark. That’s usually after finishing several small practice scenes.
A well-done walk cycle tutorial teaches a lot in one. It is not a good idea to rush through the basics to get a final product. Slow and steady practice develops skills that last!
Commercial Quality vs. Internal Speed
DIY work is great for learning and small personal projects. Business needs are different. Brands scaling their content often can’t wait months for results. That’s when many move past templates entirely.
They use specialized 2D animation services to produce custom characters, commercial explainers, and broadcast-ready production.
There are also professional studios that support the entire 2D animation workflow, ranging from storyboard to final sound design.
There are common pitfalls that everyone in this profession is familiar with and knows not to do. They’ve built dozens of rigs and walk cycles before. That experience shows up in smoother motion and tighter deadlines.
For a one-off personal project, DIY makes complete sense. For ongoing brand content, professional support usually pays for itself.
Want to Create a Smooth Walk Cycle?
A single professional walk cycle tutorial from a trained animator can save you weeks of trial and error.
Conclusion
Animation rewards patience more than raw talent. Most beginners quit right before things start clicking. Give yourself permission to finish something small and rough. That finished project teaches more than a dozen unfinished ones.
Every principle covered here, from timing to keyframes, gets easier with repetition. What you use now may not be available in 5 years. Programs are updated regularly and new software will replace the old ones.
The principles remain the same, no matter what kind of animation you are creating. Memorize them and you will be able to master any new tool. Even with a bouncing ball, start today!
Still Not Sure How to Do 2D Animation Properly?
Whether it’s your first walk cycle or a full commercial project, the basics of how to do 2D animation don’t change. Need broadcast-ready work fast? Our team’s got the whole pipeline covered for you.
Not always. Puppet and cutout animation don’t require one. Template-based tools work fine with just a mouse.
But frame-by-frame animation is different. A graphics tablet, like a Wacom or iPad, becomes essential there. The pressure sensitivity helps you draw natural, varied lines quickly
It is very much based on the method used. A simple rigged animation might take a beginner 10 to 20 hours. Frame-by-frame takes a lot longer.
Depending on the character, expect 40 to 100-plus hours. The difference between methods remains approximately unchanged, but experienced animators work quicker.
The easiest place to begin is with cutout animation (also known as puppet animation). You design your character just once. Then you move its parts using digital keyframes. No redrawing required for every single frame.
This makes vector rig and cutout animation the easiest way to practice how to do 2D animation as a beginner. Most new animators see visible progress within their first week using this method.
Yes, cutout animation makes this possible. You build your character’s parts once, then move them with keyframes. Drawing skill still helps, but it isn’t required to get started.
No, free tools work fine at first. Krita, Pencil2D, and Wick Editor cover everything a beginner needs. Upgrade to paid software once you outgrow them.

Hafsa Hanif is a talented content writer at Motionbees, Webnhubs and Artisticore specializing in topics such as graphic design, web design and development, logo design, and animation. With her deep understanding of design principles and creative processes, Hafsa crafts engaging, informative, and SEO-optimized content that resonates with readers. Her expertise in SEO ensures that her articles not only captivate audiences but also rank well on search engines, helping businesses boost their online presence through compelling design-focused narratives.
